This post is (also) available in: NederlandsFrançais
Note: Only available for curators
A board can be seen as a highly targeted search query that permanently runs for you. You can manage multiple boards, and each board provides an at-a-glance overview of the most important articles per type and analytical KPIs for your specified period.
If you prefer a real workspace, you can filter, select, label, or share articles within a board in a manner similar to search or an inbox.
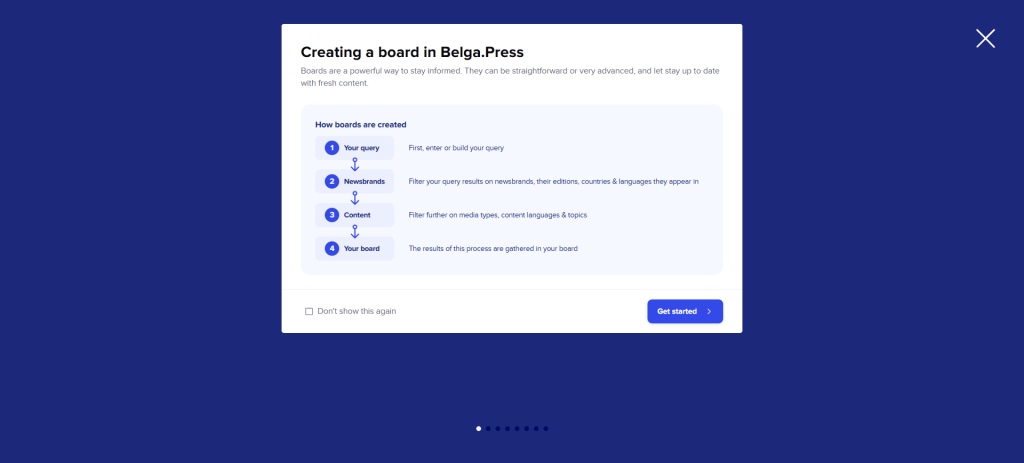
You determine the articles within a board yourself using our wizard. Your query can be simple or complex, and source selection can be done in large, recognizable blocks or at a very granular level. You can also easily convert a query from our search section into a board.
As a user, you can also set how and when you want to be notified about new articles within your board. You can set the times of day when you would like to receive email updates.
Add new board
Name board: Give your board a name. Choose the board type* if this option is available to you.
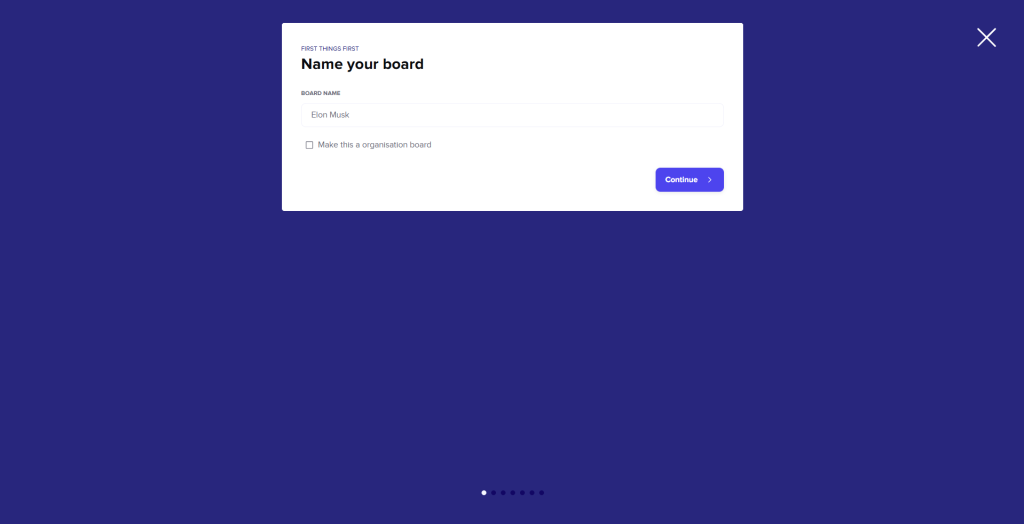
(* There are two board types: Organization board and personal board. By default, a personal board is created. If you check the “make this an organisation board” box, the board will be created at the organization level. This means it will not only be linked to your personal account but also to the organization. Everyone with access to organization boards within your organization will be able to see, use, and edit this board.)
Choose topics: Enter your keywords here. There are three ways to do this:
Manual query
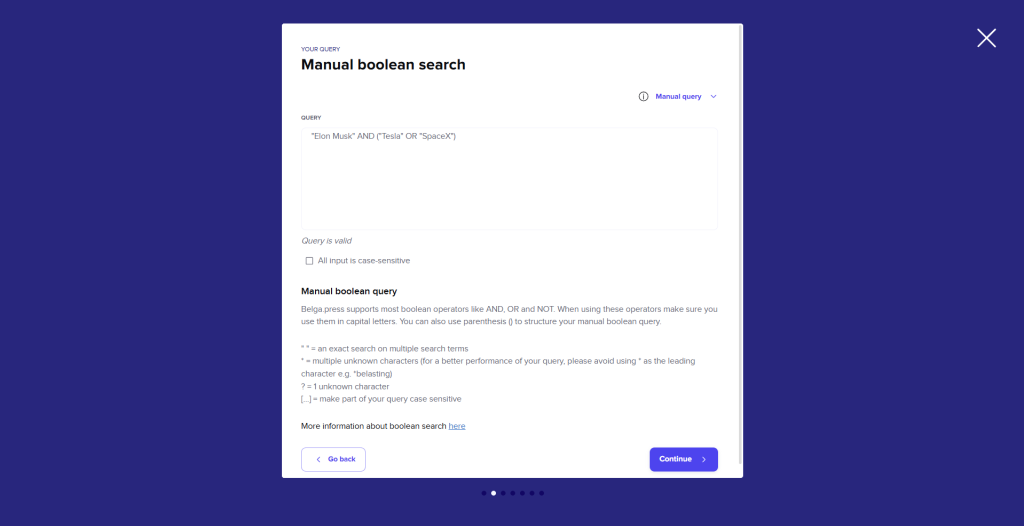
With the manual query, you can enter a Boolean search query. Belga.press supports most Boolean operators like AND, OR, and NOT. When using these operators, it is important to type them in uppercase. You can also use parentheses to structure your Boolean query.
Some Boolean characters:
“” = an exact search for multiple terms (e.g., “Elon Musk”)
* = Multiple unknown characters (e.g., gas* will also return results like gas plant, gas pipeline… Avoid search terms starting with * as they are detrimental to the performance of your query.)
? = one unknown character (e.g., film? will return results like films)
For more information on Boolean operators, see: Solr Query Parser
You can also enable the checkbox “all input is case-sensitive” to make the search query case-sensitive.
Assisted search
This wizard helps you build a Boolean query. Enter keywords and define how they should be used:
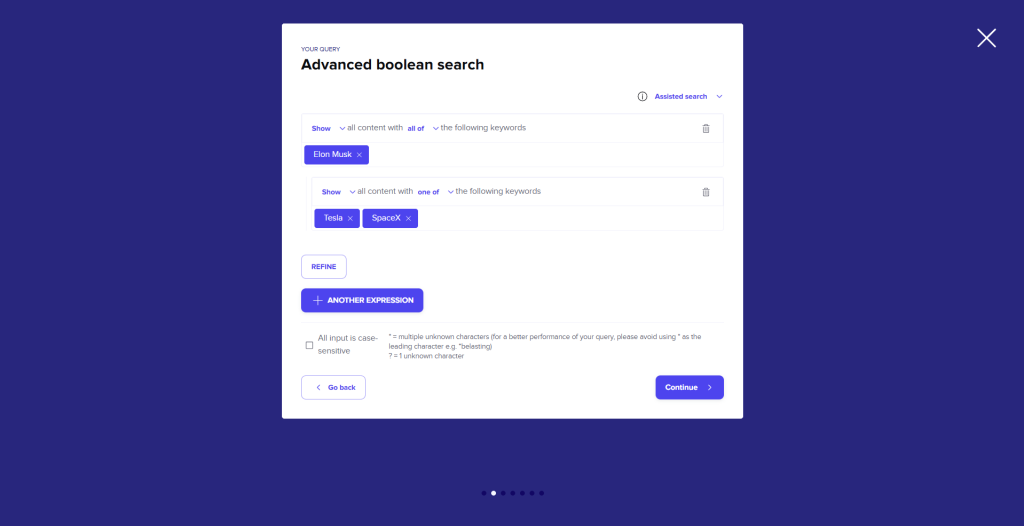
Terminology:
- Show: Include the words in the search
- Remove: Exclude the words from the search
- One of: One of the keywords must appear in the article
- All of: All the keywords must appear in the article
- Refine: Refine the search
Another expression: Add an extra part to the query (inserts an OR between the two).
With the checkbox “all input is case-sensitive,” you can make the search case-sensitive.
Keyword search
The simplest search for the keywords you want to search and provide any words you want to exclude.
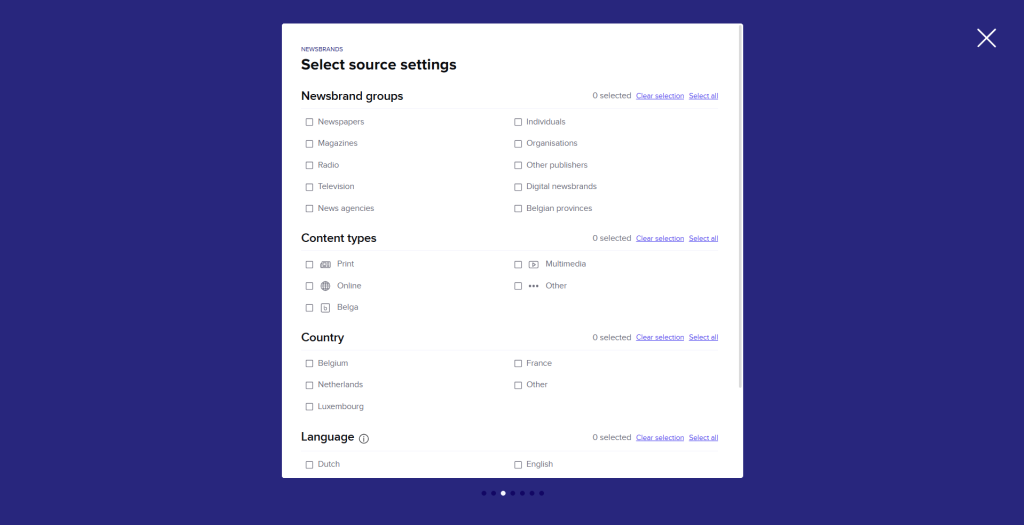
Select source groups: in this next step, you make a general selection of the sources you want to search in. Choose the desired criteria from the following elements and Belgapress will compile a list of sources based on your source package.
- Source groups: categories of sources. (Newspapers, Magazines, etc.)
- Content types: type of content (print, online, etc. )
- Country: Country of the source (Belgium, Netherlands, etc.)
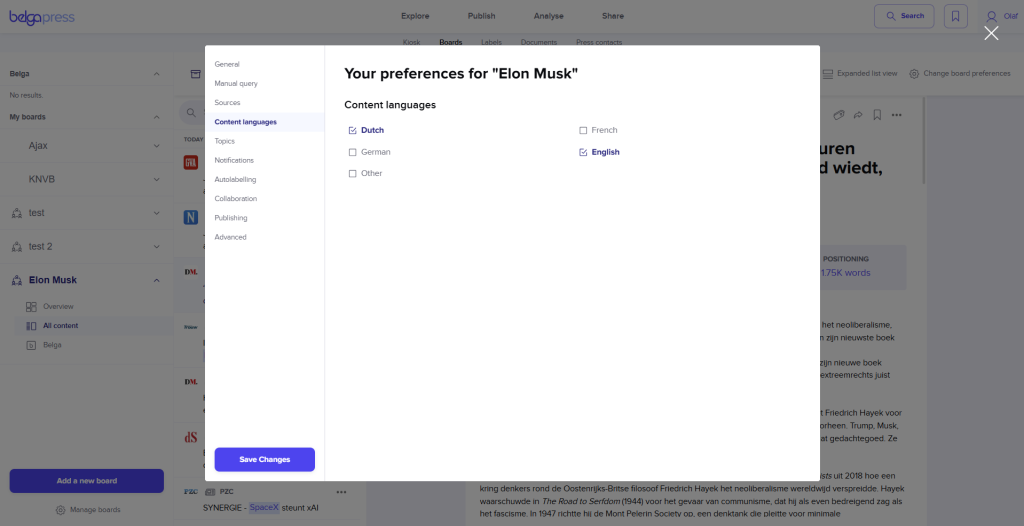
- Language: Language of the source (nl, fr, etc.)
Specify sources: Based on your source group selection, Belgapress will display a list of sources that match your criteria. In this screen, you can further refine your selection by adjusting the content types per source, or by adding and removing specific sources.
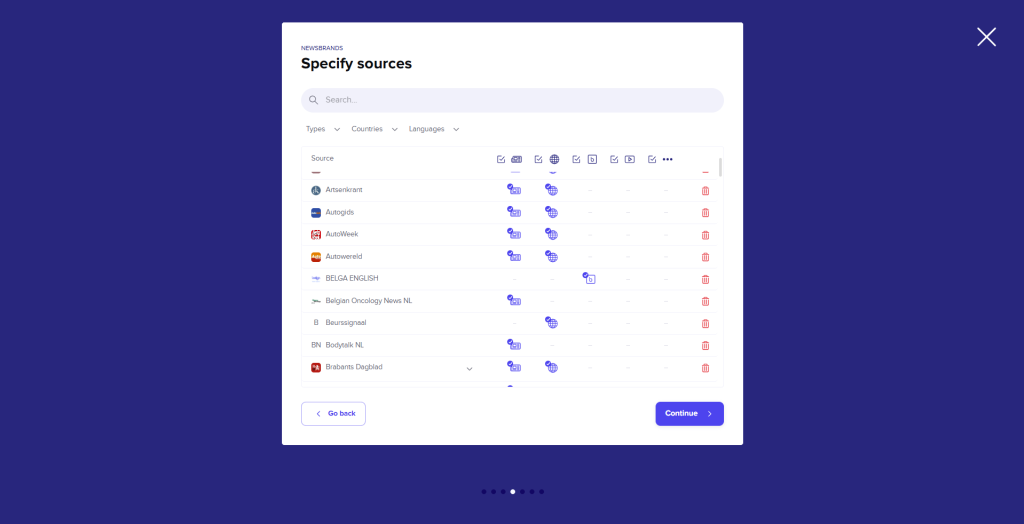
To add sources, search for sources in the search bar (within your source package) by typing the name and clicking the plus icon.
To remove sources, click the trash can icon next to the source in the list.
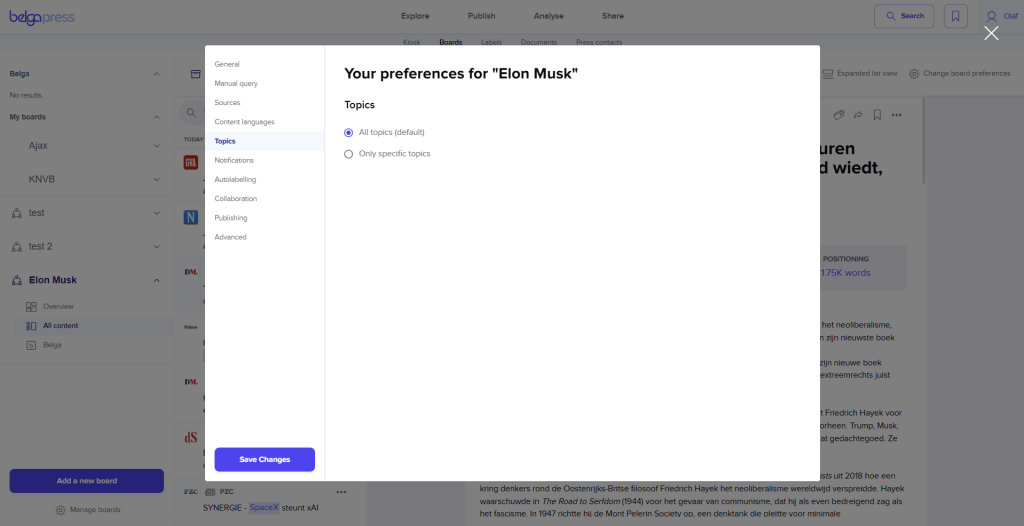
Filter on topics. Add a filter on topics if desired (e.g., if you only want to follow political news).

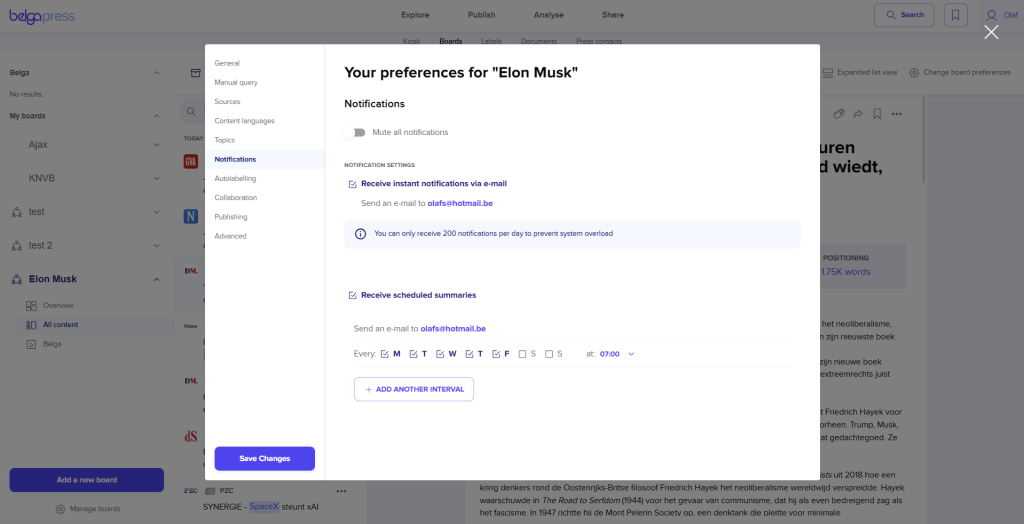
Notification settings: Here you can indicate which notifications you would like to receive for new board results. These notifications will arrive in your mailbox in the form of an email.
Two types of notifications:
- Instant alerts: You receive an email for every new result.
- Scheduled alerts: you set the days and times you would like to receive an overview of new board results. Use the “add another interval” button to set multiple intervals for scheduled alerts.
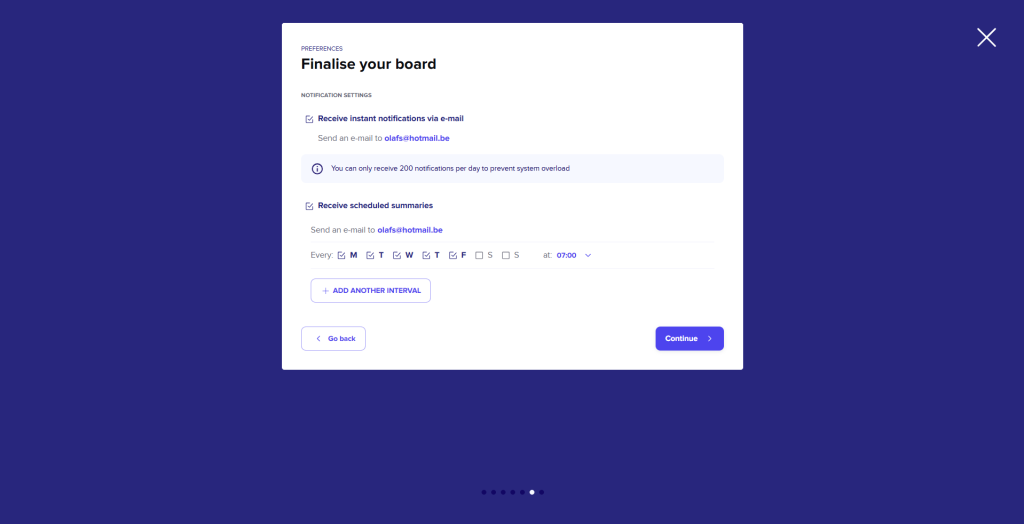
The email always indicates the number of results since the previous scheduled alert email and includes a summary of (up to) 5 articles.
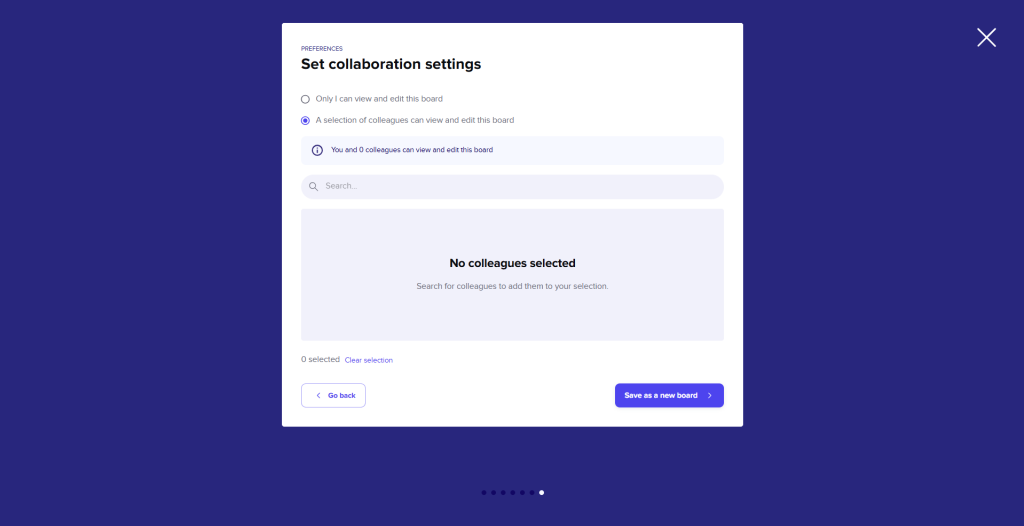
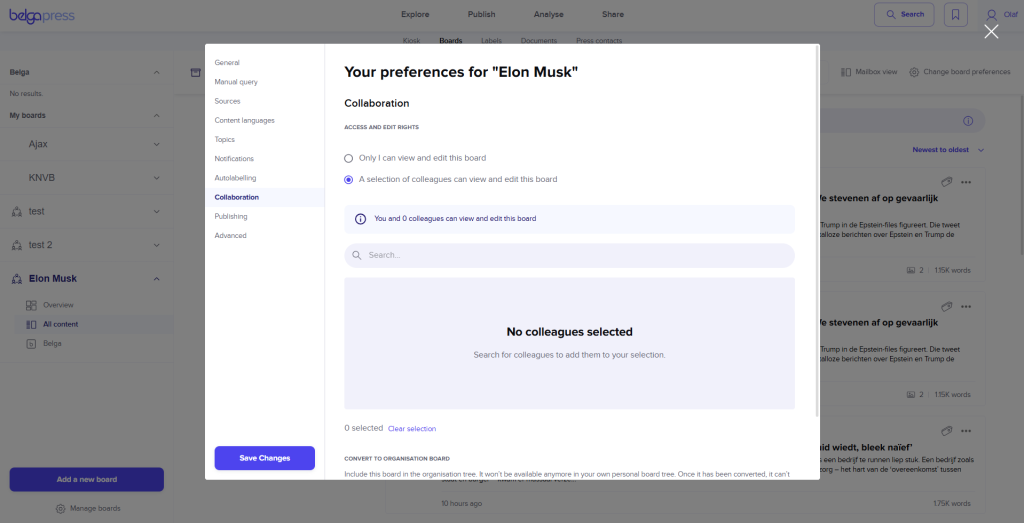
Collaborative settings: Here you can add colleagues to work on the board together with you. You can add multiple colleagues. If you choose “only I can view and edit this board,” the board remains private.
There are two possible forms of collaboration:
- Editor: Editors can view, use, and edit the board, but they cannot delete it or add other editors or co-owners.
- Co-owner: Co-owners can view, use, edit, and delete the board, and they can add other editors or co-owners.
PLEASE NOTE! Only users with the board function can view and use shared boards. If the owner deletes the board, it is removed for everyone.
Managing boards
In the left column, you will find all organizational and personal boards. A personal board with collaborators is indicated by an icon.
Opening a board: You open a board by clicking on its name. A board has 3 possible views:
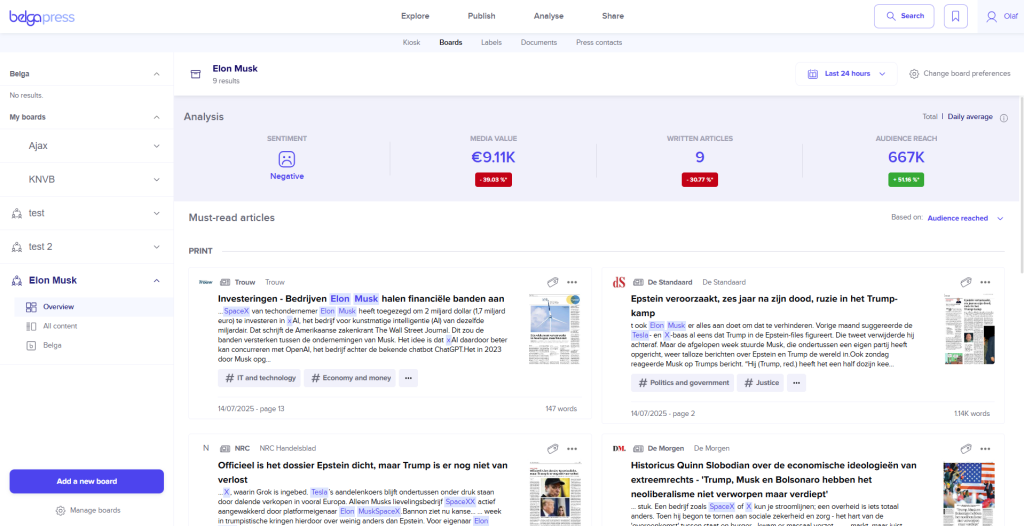
Overview
In this overview, you get a summary of the board results. However, this is only a small selection of results divided by content type. At the top, you can filter the results to a period of your choice using the date picker. By default, we show “Last 24 Hours,” but you can adjust this as you wish. The number of results will be updated as soon as you adjust the date picker. Underneath the date picker, you will find a basic analysis for the board. This analysis covers all articles within the selected time period. You get the sentiment value, number of articles, and audience reach.
All content
In this (default) view, you can see all results for the board. At the top, you can filter the results to your desired period using the date picker. By default, we show “Last 24 Hours,” but you can adjust this as you wish.
The number of results will be updated as soon as you adjust the date picker. There are 2 possible layouts for all results. You can change the view by selecting expanded or mailbox view next to the board settings.
In the Expanded list view, similar to search, you get a list of all results in your board. The articles in the list include the title and a snippet of the text containing your search terms.
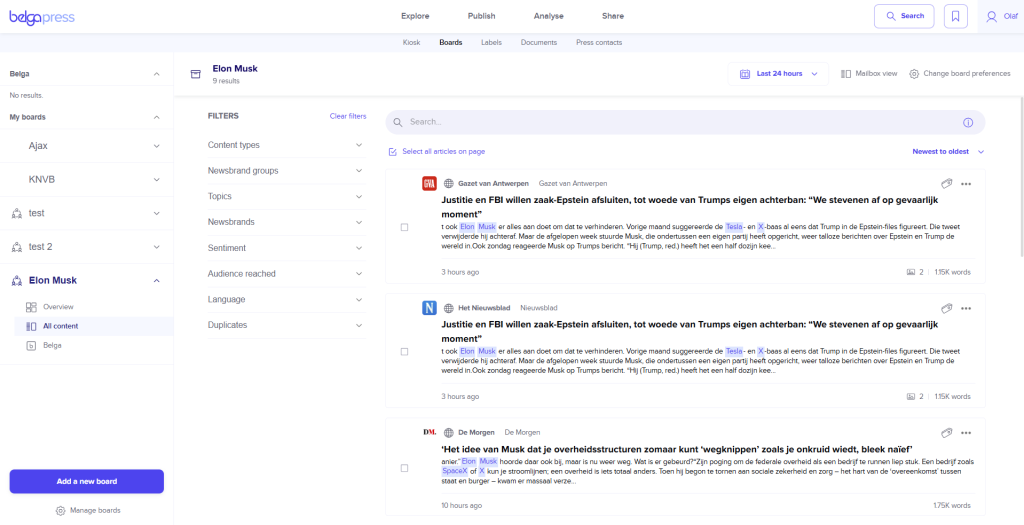
You can use the search bar to search within the board, or use one of the filters on the left side. You can sort the board results from old to new or new to old. Using the checkboxes on the left side of the article, you can select multiple articles and perform an action on them simultaneously. (Label, share, save) To read an article in full, click on the article and it will appear in a pop-up on the screen. The keywords will also be highlighted in this article detail view.
In the mailbox view, the article titles are listed in the left bar. When you click on an article, it opens in the right-hand screen.
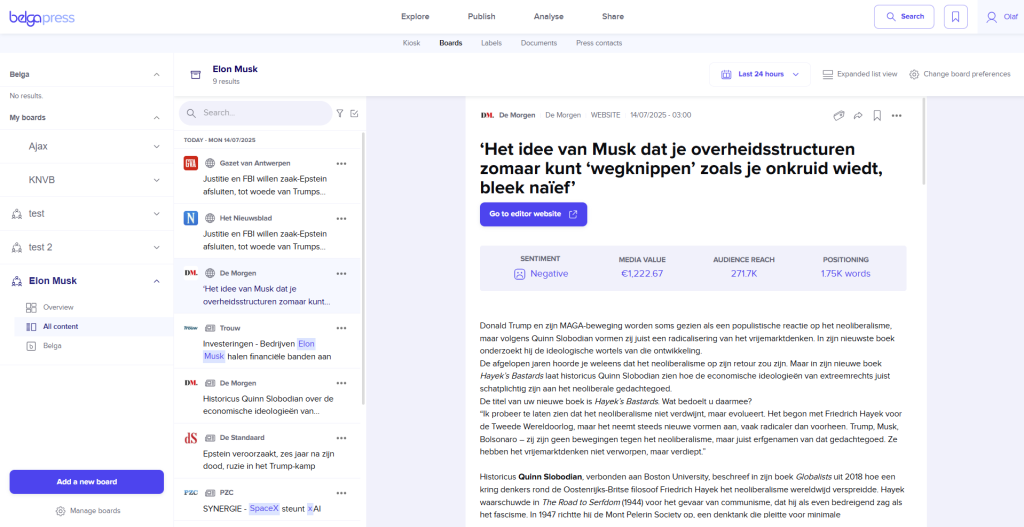
You can use the search bar to search within the board, or use one of the filters by clicking on the filter icon. With the checkbox icon, you can select multiple articles and perform an action on them simultaneously. (Label, share, save)
Belga
In this view, you only see the Belga articles for this board. This section contains the same functionalities as the all content view.
Manage boards: In the left column, you will find all the boards you have access to. (Users with organizational boards will find a section at the top with all organizational boards)
With the “Manage boards” button (located under add new board), you can change the order of the boards. You do this by moving the board using the 3-line (hamburger) icon.

Don’t forget to click “Save Changes”!
Board preferences
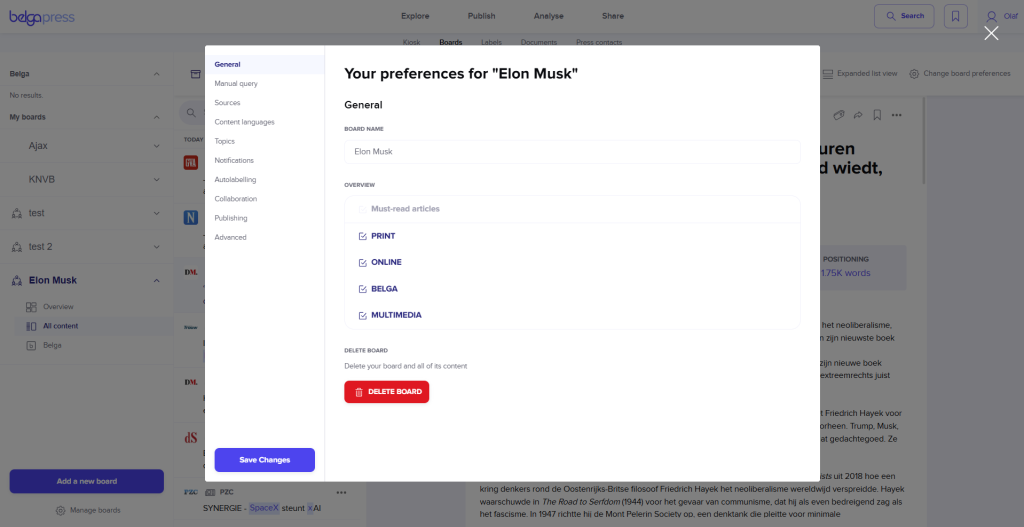
Change Board preferences: At the top right, you will find the “Change board preferences” button. This allows you to change all of your board’s preferences at any time.
General: Here you can change the name of the board and edit the overview view by hiding certain content types.
Search: Here you can modify the search query. You can choose between assisted search, manual search, and keyword search.

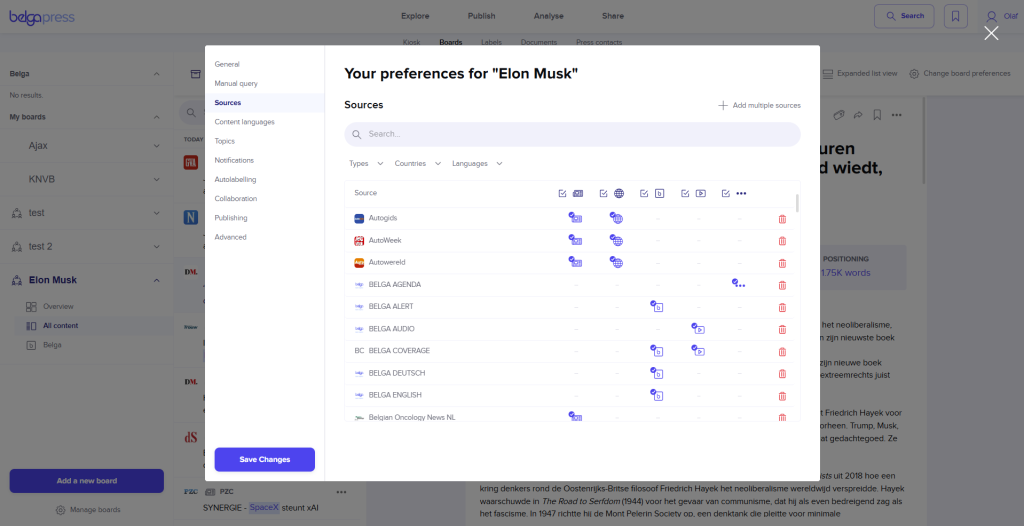
Sources: This is where you can modify the source selection for your board.
You can quickly filter the sources selected for your board by type, country, and language. (Note: This only applies to the sources currently selected.)
Use the content type icons to enable or disable specific content types for a source. You can also apply this to all sources in the list by checking or unchecking the checkbox at the top
- Removing sources: Click on the trash can icon to remove a source.
- Adding individual sources: Use the search bar to find sources within your source package. Click the plus icon to add a source to your board.
- Adding multiple sources: Click “Add multiple sources” in the top right corner. This opens a pop-up with a list of all sources in your package that haven’t been selected for your board yet. By selecting sources using the checkboxes, you can add multiple sources to your board at once.
Notifications: This is where you can adjust the notification settings for your board, including both instant and scheduled notifications. By selecting “Mute all notifications,” you can pause all notifications as long as the checkbox remains checked.
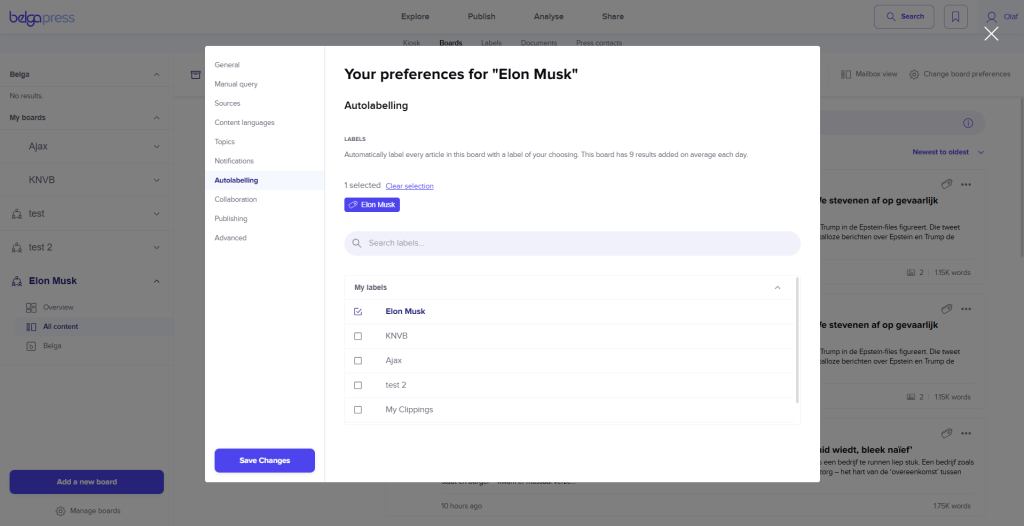
Autolabeling: Autolabeling allows you to automatically assign board results to one or more labels. You can do this by checking the desired labels.
Collaboration: This is where you can modify the collaborative settings for a board.
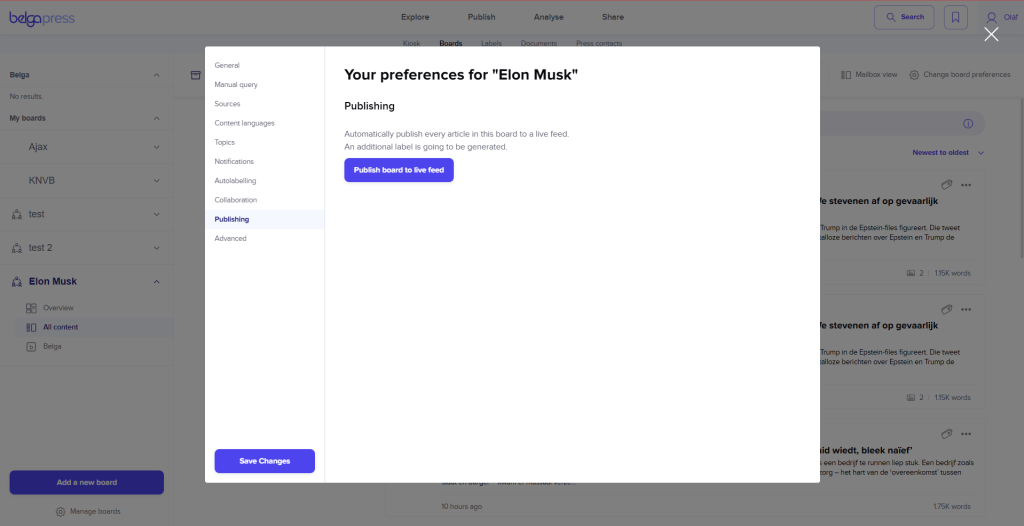
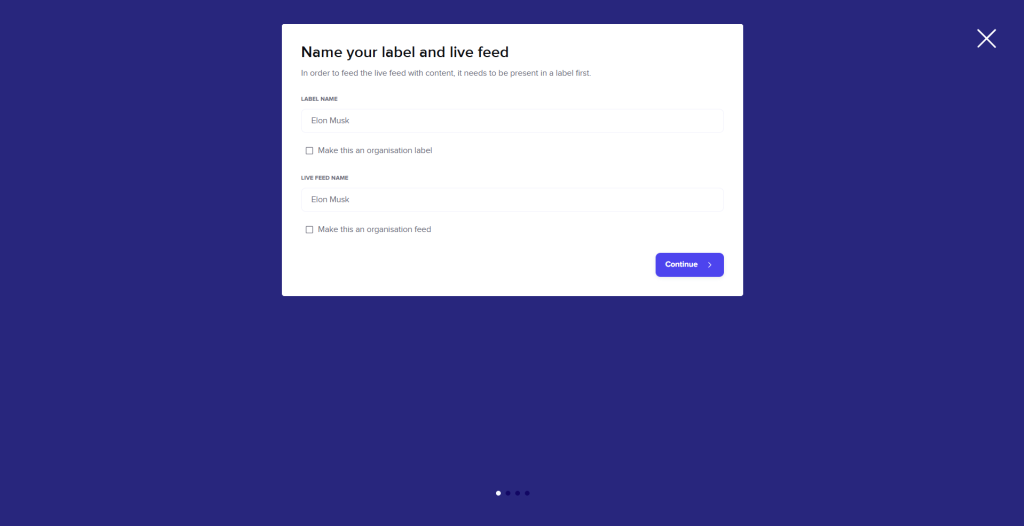
Publishing: This allows you to instantly convert your board results into a live feed. Autolabeling is then activated automatically. While following the wizard, you can choose a label and a name for your live feed, as well as specify who is authorized to receive it.
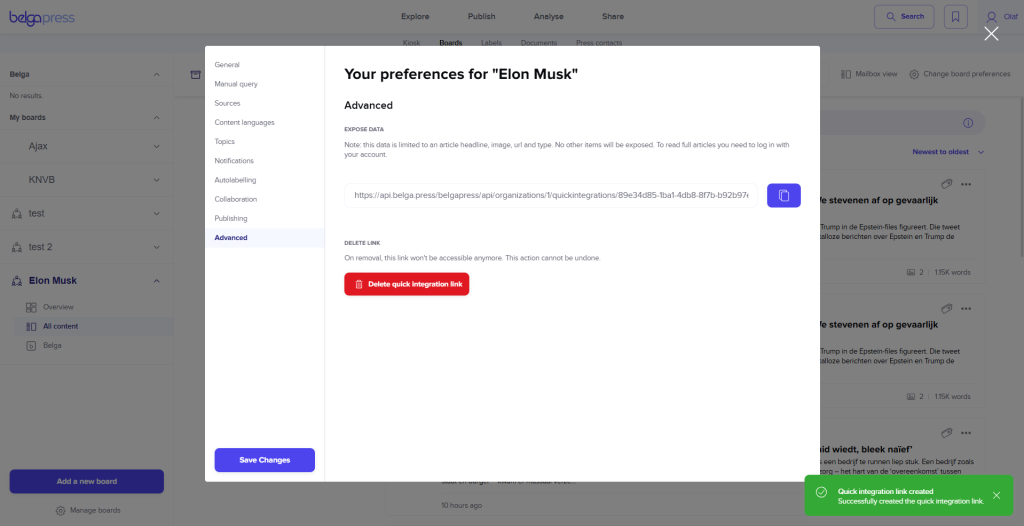
Advanced: Here you can create a Quick Integration link for an API integration (intranet, BI tool, etc.). Activation of this feature is available upon request. Please contact [email protected].
PLEASE NOTE! Always click “Save changes” to save your settings.